Overview
The Upload File step handles file uploads to input elements on your page. It manages the complete upload process including file selection, cloud storage, and form submission, making it easy to test any feature that requires users to upload documents, images, or other files.When to Use Upload File
Use Upload File when you need to:- Test document uploads: Profile pictures, resumes, invoices, or PDFs
- Verify file validation: Test file type restrictions, size limits, or format requirements
- Check upload workflows: Confirm files upload successfully and appear in the right places
- Test multi-file uploads: Verify your app handles multiple files correctly
- Validate error handling: Test how your app responds to invalid files or failed uploads
How It Works
Upload File finds a file input element on your page and programmatically sets the file you selected during test creation. Behind the scenes, your test file is securely uploaded to cloud storage, and the step uses a signed URL to make the file available during test execution. This approach works reliably in automated test environments where native file dialogs would interrupt test flow. The file appears to your application exactly as if a user had selected it through the normal file dialog.Using the Upload File Step
When you add an Upload File step, follow these steps to configure it:Step 1: Add the Upload File Step
In the No-Code Editor, add an “Upload File” step to your test sequence.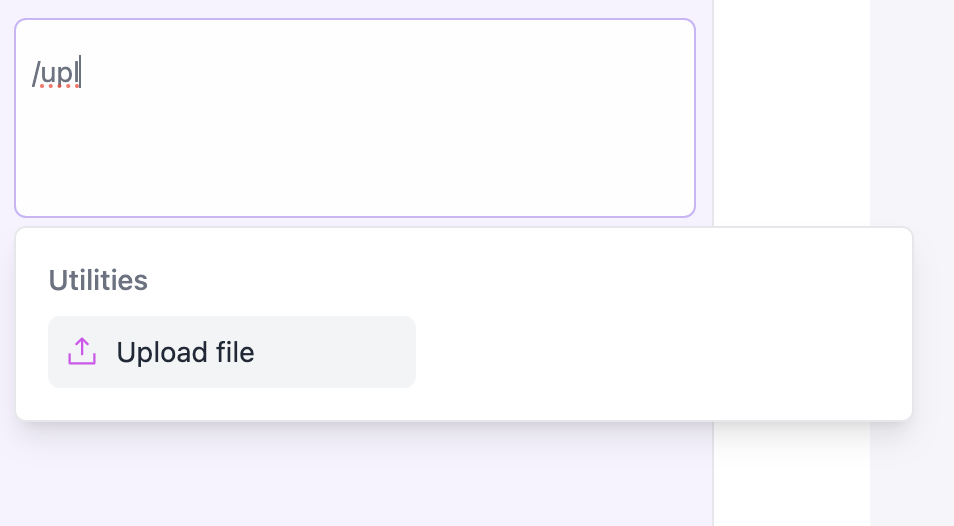
Step 2: Select Your Target Element
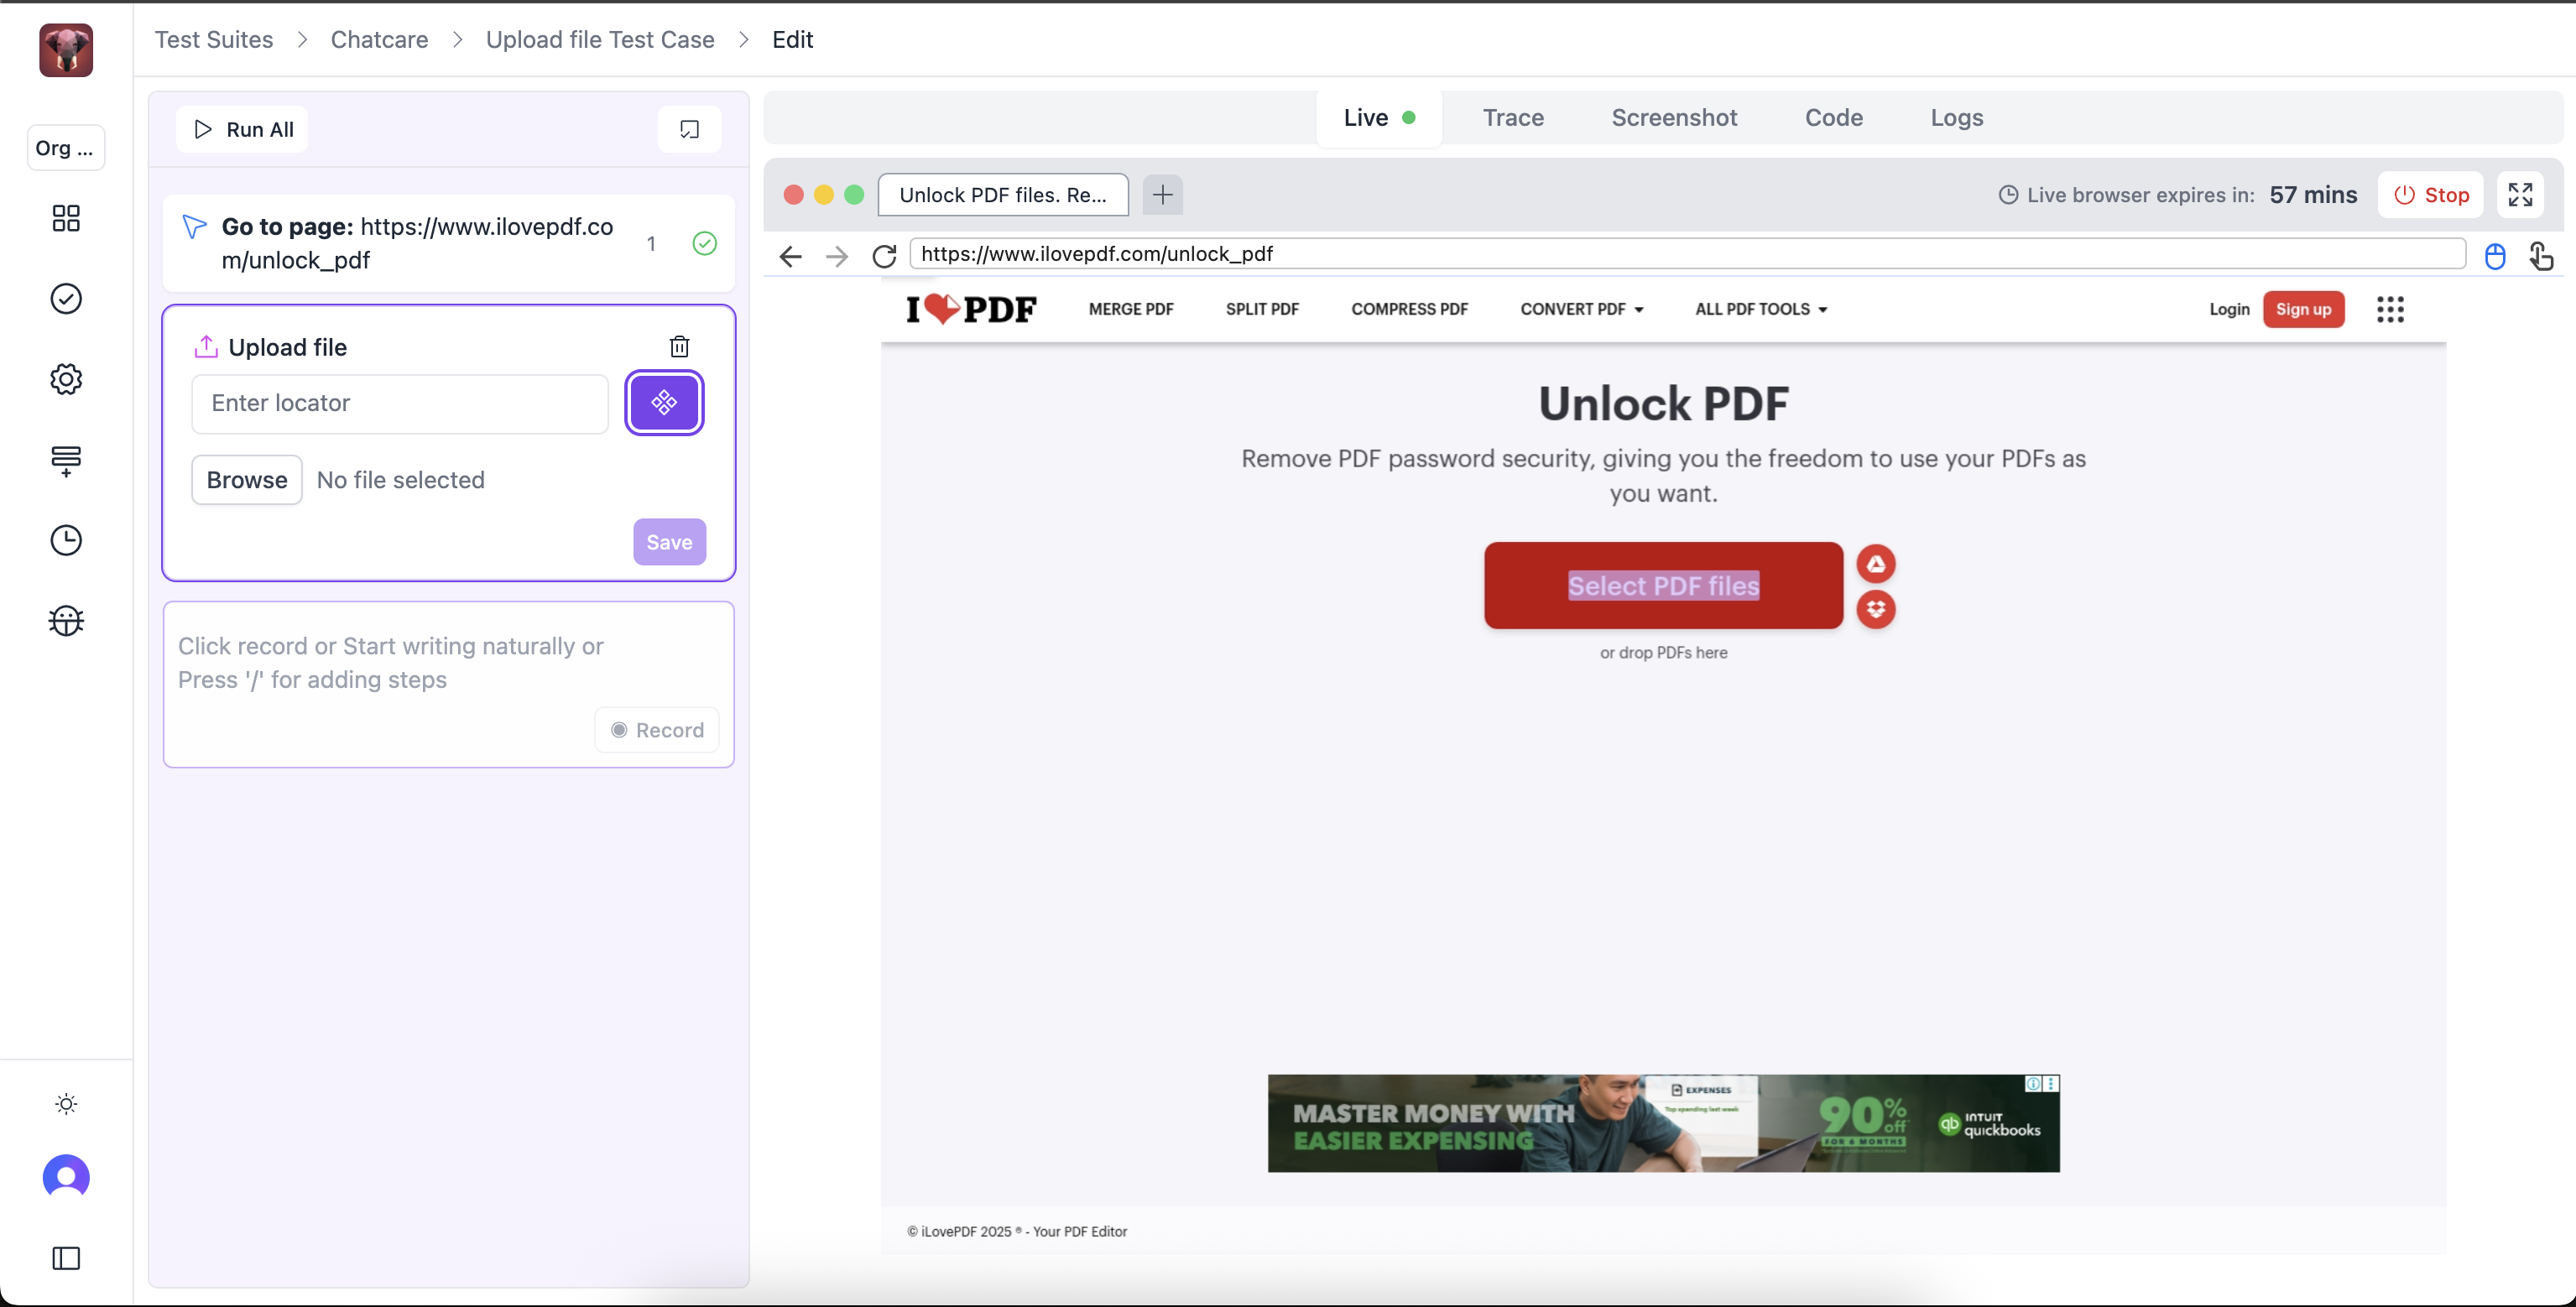
Click the target/crosshair icon next to the Locator field to activate the element picker.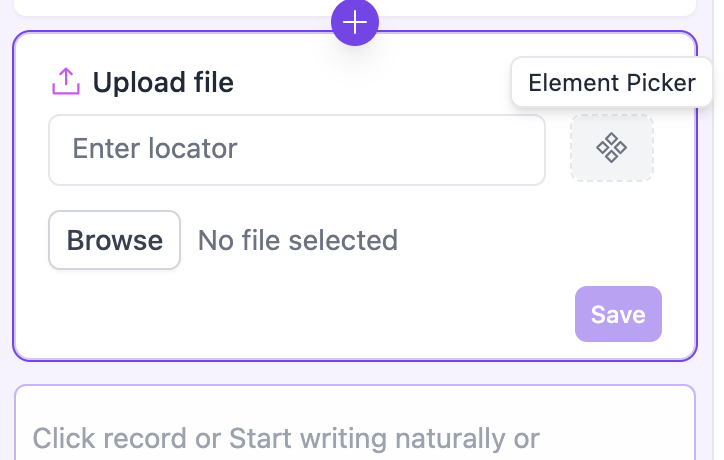
input[type="file"]).
Step 3: Choose Your File
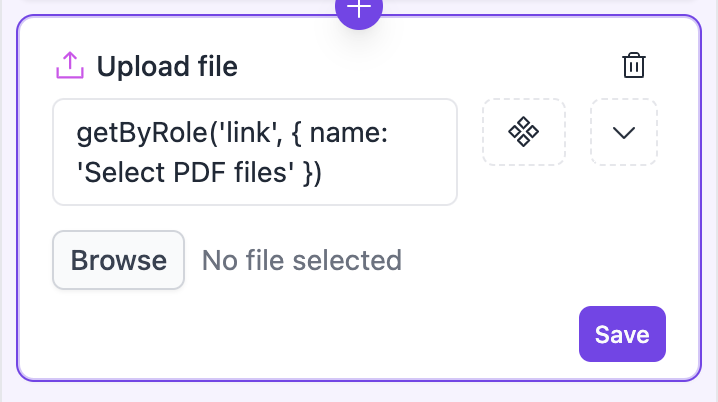
Click the Browse button to open your computer’s file dialog, then select your test file (for example,test-document.pdf).
Step 4: Save the Step
Click Save to add the Upload File step to your test sequence.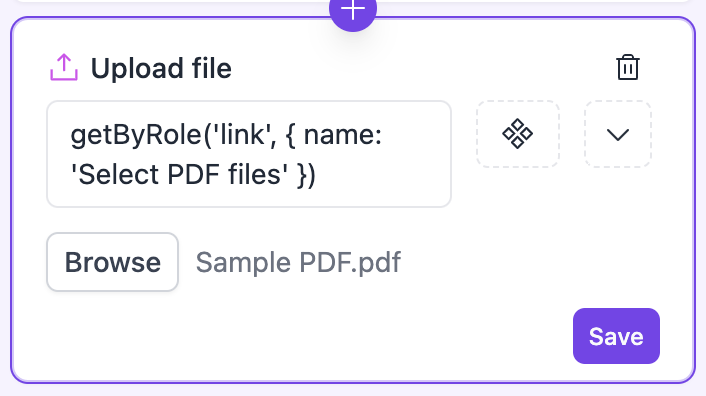
Step 5: Test It
Use the “Run Single Step” feature to verify the file upload works as expected.Real-World Examples
Profile Picture Upload
Document Verification Flow
Multiple File Upload
multiple attribute, your application may only accept the first file even when multiple are provided.
File Type Validation
Best Practices
Always Use the Element Picker
The element picker is essential for Upload File steps:- It ensures you target the actual
<input type="file">element - Manual selectors might target wrapper elements that don’t work
- Test your upload step after creation to verify it works correctly
Target the Right Element
- Look for
<input type="file">elements specifically - Don’t target wrapper
<div>or<button>elements - Use the element picker to confirm you’re selecting the file input itself
- Check if custom file upload components hide the real input element
Choose Appropriate Test Files
- Use small, realistic test files
- Keep test files under a reasonable size to avoid timeouts
- Store test files in a consistent location
- Consider file format requirements of your application
Verify Upload Results
Always add verification steps after upload:- Check for success messages or confirmation
- Verify the file appears in lists or previews
- Extract and verify file names or metadata
- Wait for upload processing to complete before asserting success
Troubleshooting
File Input Not Found
Symptom: Test can’t find the file input element Solution:- Use the element picker to target the element visually
- Check if the input is hidden by CSS (some custom upload UIs hide the native input)
- Verify the input exists when the step runs
- Add Wait for Element if the input loads dynamically
Upload Fails or Times Out
Symptom: File doesn’t upload or test times out Solution:- Reduce file size for faster uploads
- Check network connectivity in your test environment
- Verify cloud storage permissions and signed URL generation
- Ensure your application’s upload endpoint is accessible
- Check browser file access permissions
Wrong File Uploaded
Symptom: Different file uploads than expected Solution:- Verify the file path points to the correct test file
- Check that the file still exists at the expected location
- Ensure test files are included in your test project structure
- Consider using test fixtures for consistent file availability
Multiple Files Not Working
Symptom: Only one file uploads when multiple are selected Solution:- Verify the file input has the
multipleattribute:<input type="file" multiple> - Check your application’s upload handler supports multiple files
- Test manually to confirm your app accepts multiple files
- This is app-dependent behavior - single-file inputs only accept the first file
Upload Appears Successful But Isn’t
Symptom: No error but file doesn’t appear in your app Solution:- Add Wait for Element to allow upload processing time
- Check that you’re clicking submit buttons after file selection
- Verify your app requires additional form submission after file selection
- Look for JavaScript errors in the browser console
How File Upload Works During Tests
During Test Creation
When you click “Browse” while creating your test, the native file dialog opens normally. You select your file, and it’s uploaded to secure cloud storage for use during test execution.During Test Execution
When your test runs, the native file dialog does not open. Instead, the test runner uses the element you selected with the element picker to programmatically set the file path and trigger the upload using the file you selected during test creation. This approach ensures tests run reliably in automated environments where file dialogs would interrupt the flow.Related Steps
- Fill - Fill form fields before or after file upload
- Click - Click submit buttons after selecting files
- Wait for Element - Wait for upload completion indicators
- Check Visibility - Verify upload success messages appear
- Check Text - Check uploaded file names or status
- Drag and Drop - For drag-based file upload interfaces

